
Steve has a ton of old tshirts that he doesn't wear but doesn't want to get rid of, so for Christmas I made him a tshirt quilt. It was a little difficult for me to find instructions online for all the steps I needed, so I decided to post my quilting process here for anyone looking to attempt this project.
Since Steve had so many shirts, I made him a full-sized quilt. I used this PDF as a guide for how much fabric to buy for the backing and the batting:
So, I bought 6 yards of fleece backing and 6 yards of medium weight fusible batting. I decided to use fusible batting because I knew that working with knit can sometimes be tricky and it ended up making it very easy to sew everything together without it getting stretched weird.
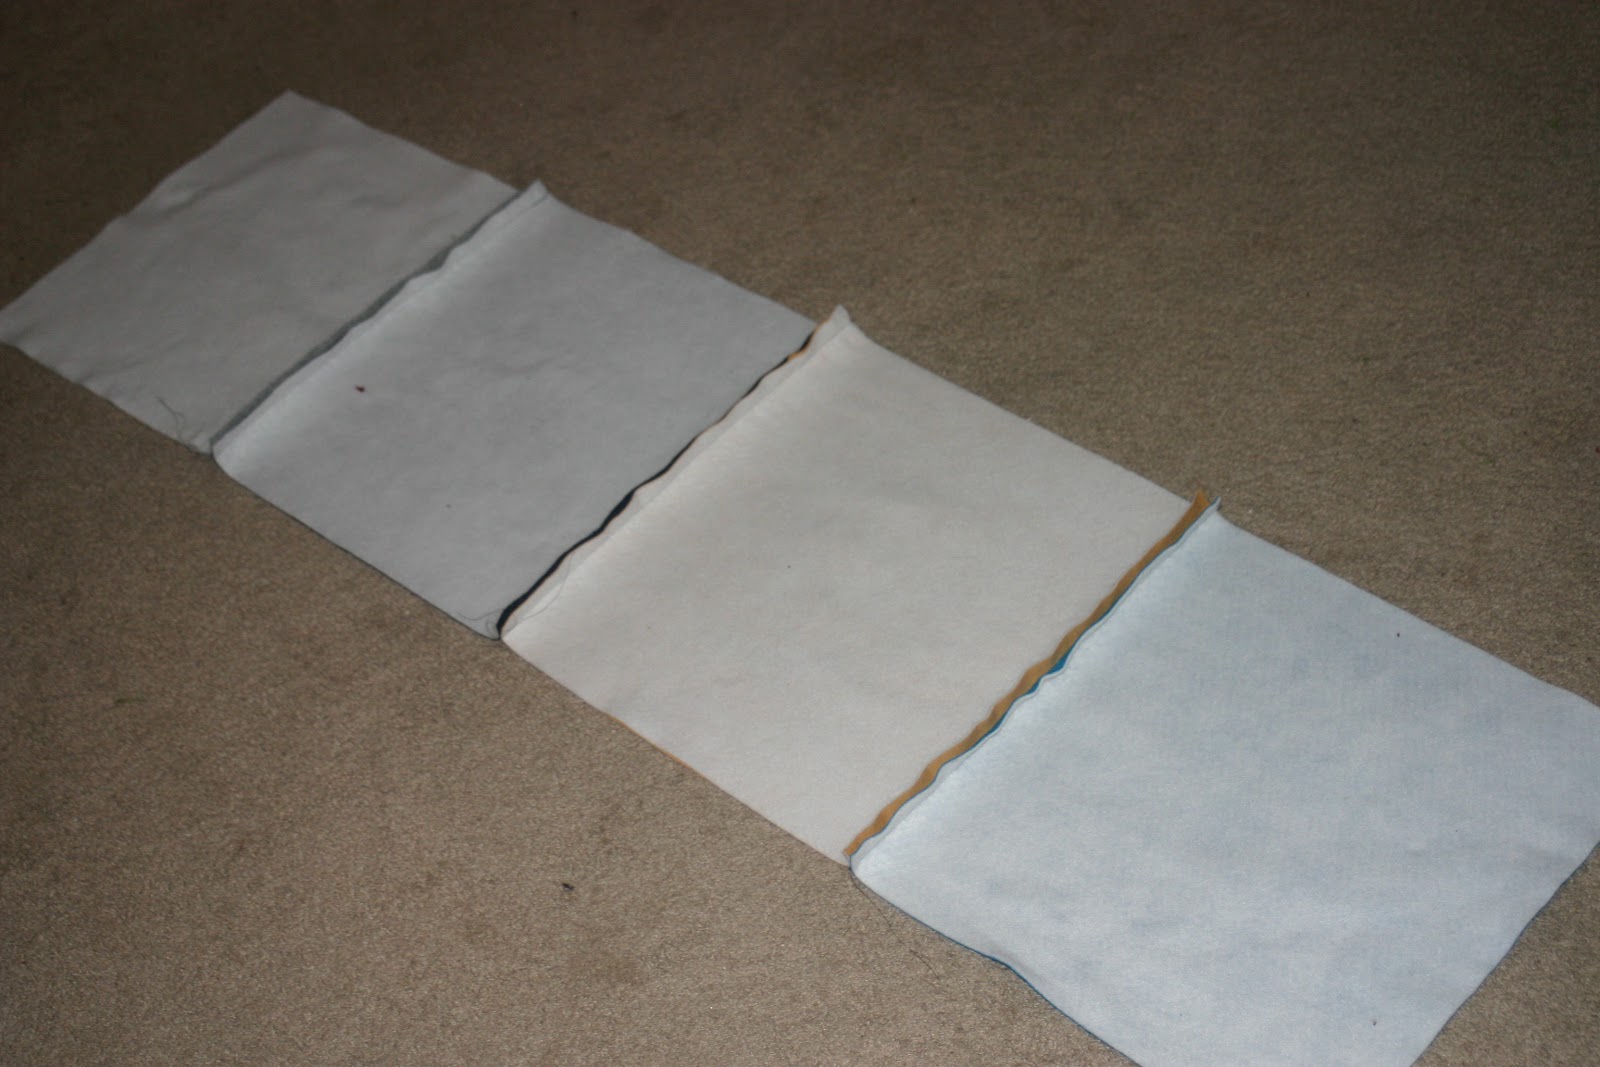
Step One: Cut the Batting
Cut the batting into 1/2 yard pieces and then cut it in half at the fold. I needed twenty pieces because I planned on having twenty 16"x16" tshirt squares. I ended up using most of the batting, since I cut five of the six yards into 1/2 yard strips and then cut those in half at the fold to make twenty large rectangles.

 |
| Henry helped a lot |
 |
| Here's my stack of batting rectangles |
Step Two: Cut the Shirts
Next cut up all the tshirts. I started out using the rotary cutter, but then I decided that scissors went a lot faster, which you can see with the Rolling Stones shirt. I pretty much cut out as large of sections as I could. I even left some of the collar on with shirts that I knew I would want to center higher up. If you go the rotary cutter route, be careful to cut the front and backs of shirts separately. I ruined the back of this green football shirt because I accidentally cut too close to the design.


Step Three: Iron them Together
Now place a piece of the batting on the ironing board (fusible side up) with a face-up tshirt piece on top of it. The ironing took way longer than I expected. My advice is to use lots of steam and turn the iron up a little higher than the batting directions say. I also had the iPad nearby so I could watch Netflix while the hours of ironing passed. I think it took 2.5-3 hours to get all the ironing done. Also, since you can't iron over the shirt design, have some fabric nearby that you can use as a barrier between the iron and the design. I tried using a towel at first, but it was too thick for the heat to get through, so I ended up using the back of one of the shirts I cut up.
 |
| ironing over the designs |
You're done with ironing, rejoice, the worst is over (in my opinion)!
Step Four: Cut them Down to Size
Cut the batting-backed tshirt squares into 16"x16" squares. I used the rotary cutter, which worked really well. I only measured the first one and then used that one as a template for all the rest. I checked the measurements a few times throughout the cutting to make sure I was still getting the right size, since there were a few times that I accidentally shaved a little off my template.

 |
| I centered the template over the design on the uncut tshirt and used my rotary ruler as a straight edge for the cutter |
Step Five: Arrange the Squares
This is the fun part! Lay out the squares and decide how you want the finished quilt top to look. This requires a lot of floor space.
 |
| my quilt top layout |
Step Six: Pin & Sew
part one: from squares to rows
Pin one row of squares together with the tshirt side facing in and then sew them together.

 |
| the front of one finished row of squares |
 |
| the back of one finished row of squares |
 |
| my five completed rows |
part two: from rows to quilt top
Pin the rows together, tshirt sides facing each other and sew them. Be sure to check that all the rows are right side up - I had to put my seam ripper to use when I thought I was finished and then realized that the bottom row was upside down!

 |
| two rows pinned, shirt sides together |
 |
| finished quilt top |
Once again, I should have ironed the seams open here, too. I ended up doing that later and it was much more difficult than it would have been if I'd remembered to do it here!
Step Seven: Making Your Quilt Back
Here, my camera stopped working, so I didn't get any pictures. Once I had a camera again, I had already finished the quilt back. Because of how large of a quilt I made, I needed to have two pieces for the backing. Here's the finished quilt, and you can see the seam down the middle where I sewed the two back pieces together.

I basically just cut the 6 yards of fleece into two equal strips, placed them on top of my quilt top right sides down, cut off any extra on the edges (making sure to leave about 4 inches around the edge for the binding). I'm not going to lie, I wasn't super precise on this step, but it turned out just fine. I just pinned the two pieces together and sewed!
Step Eight: Pin Your Layers Together
Now that you have a quilt back, lay it out right side down on the floor and lay the quilt top right side up on top of it. Pin the two layers together, making sure to pin over the entire quilt - I pinned along all the quilt top seams.


Step Nine: Pin Your Binding
Normally, you would sew the quilt top and back together before pinning down the binding, but I accidentally did the binding first (and also got no pictures of it), so instead of undoing the binding to sew the quilt top, I just sewed it with the binding pinned. Here's my pinned binding and mitered corner:


Since I didn't get any good pictures of my own binding, here is the tutorial that I used for using your quilt back for the binding and making mitered corners.
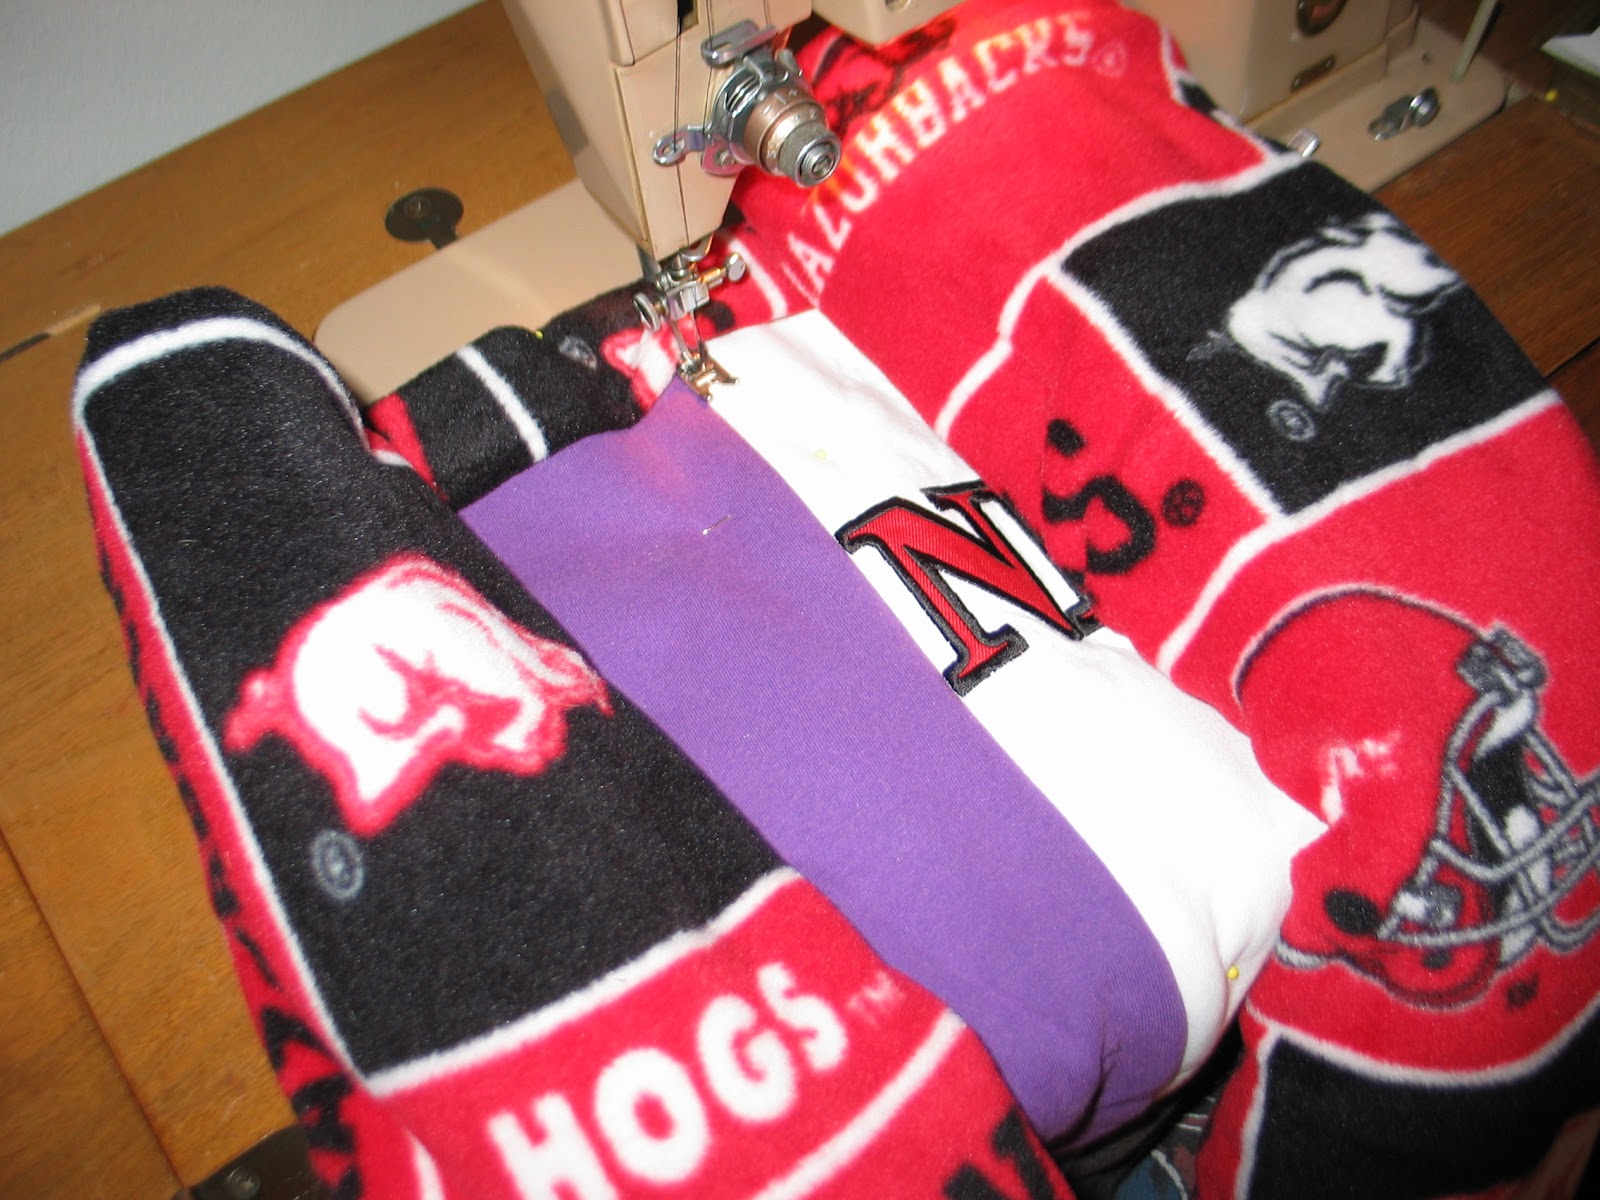
Step Ten: Sew Your Pieces Together
Decide where you want to start sewing your pieces together (I recommend starting on a seam close to the middle) and roll up both sides of the blanket around that strip so that it will fit nicely under the sewing machine. Sew straight down the edge of the seam, and repeat for all of the horizontal and vertical seams on the quilt.
Here's my quilt after sewing the pieces together:


Step Eleven: Sew Your Binding Down
Starting at one of the corners, sew your binding down. I sewed pretty close to the edge of the binding, but I could have done as much as a one inch seam if I had wanted to.


My seams around the binding weren't terribly straight, but the fleece was very forgiving, and you can hardly tell where the seam is anyway. Also, I didn't sew down the diagonal of my mitered corners, but I probably should have because after I washed the quilt they came undone a little. I will probably do it later either by hand or machine.
Step Twelve: REJOICE!
You're done! Here's my finished quilt, front and back:

I hope this tutorial was helpful! If anything else, now I have good instructions next time I decide to quilt, but if you want to give it a try, this process worked really well for me!


No comments:
Post a Comment